- Workspace: A hub where your team accesses your projects. Permissions and billing are managed at the workspace level.
- Project: An online storefront in which you can create pages, conduct A/B tests, and analyze project-specific insights.
- Shopify Theme Project: A project that connects to an existing Shopify store, allowing you to build and publish custom pages directly as theme sections within that store.
- Replo Site: A standalone project hosted on Replo, allowing you to build and publish pages with AI on your own custom domain without a Shopify store.
Workspaces in Replo
Workspaces contain billing tiers, member access, and projects. Users can view and navigate through all their workspaces and projects via the dropdown located in the upper-left panel of the dashboard. Projects are grouped by workspaces, which contain both billing and member permissions. This dropdown is also where users can create a new workspace or project. Click into a workspace to select a project or create a new one.
Workspace Settings
General
In the workspace general settings, you can update the workspace name and delete the workspace.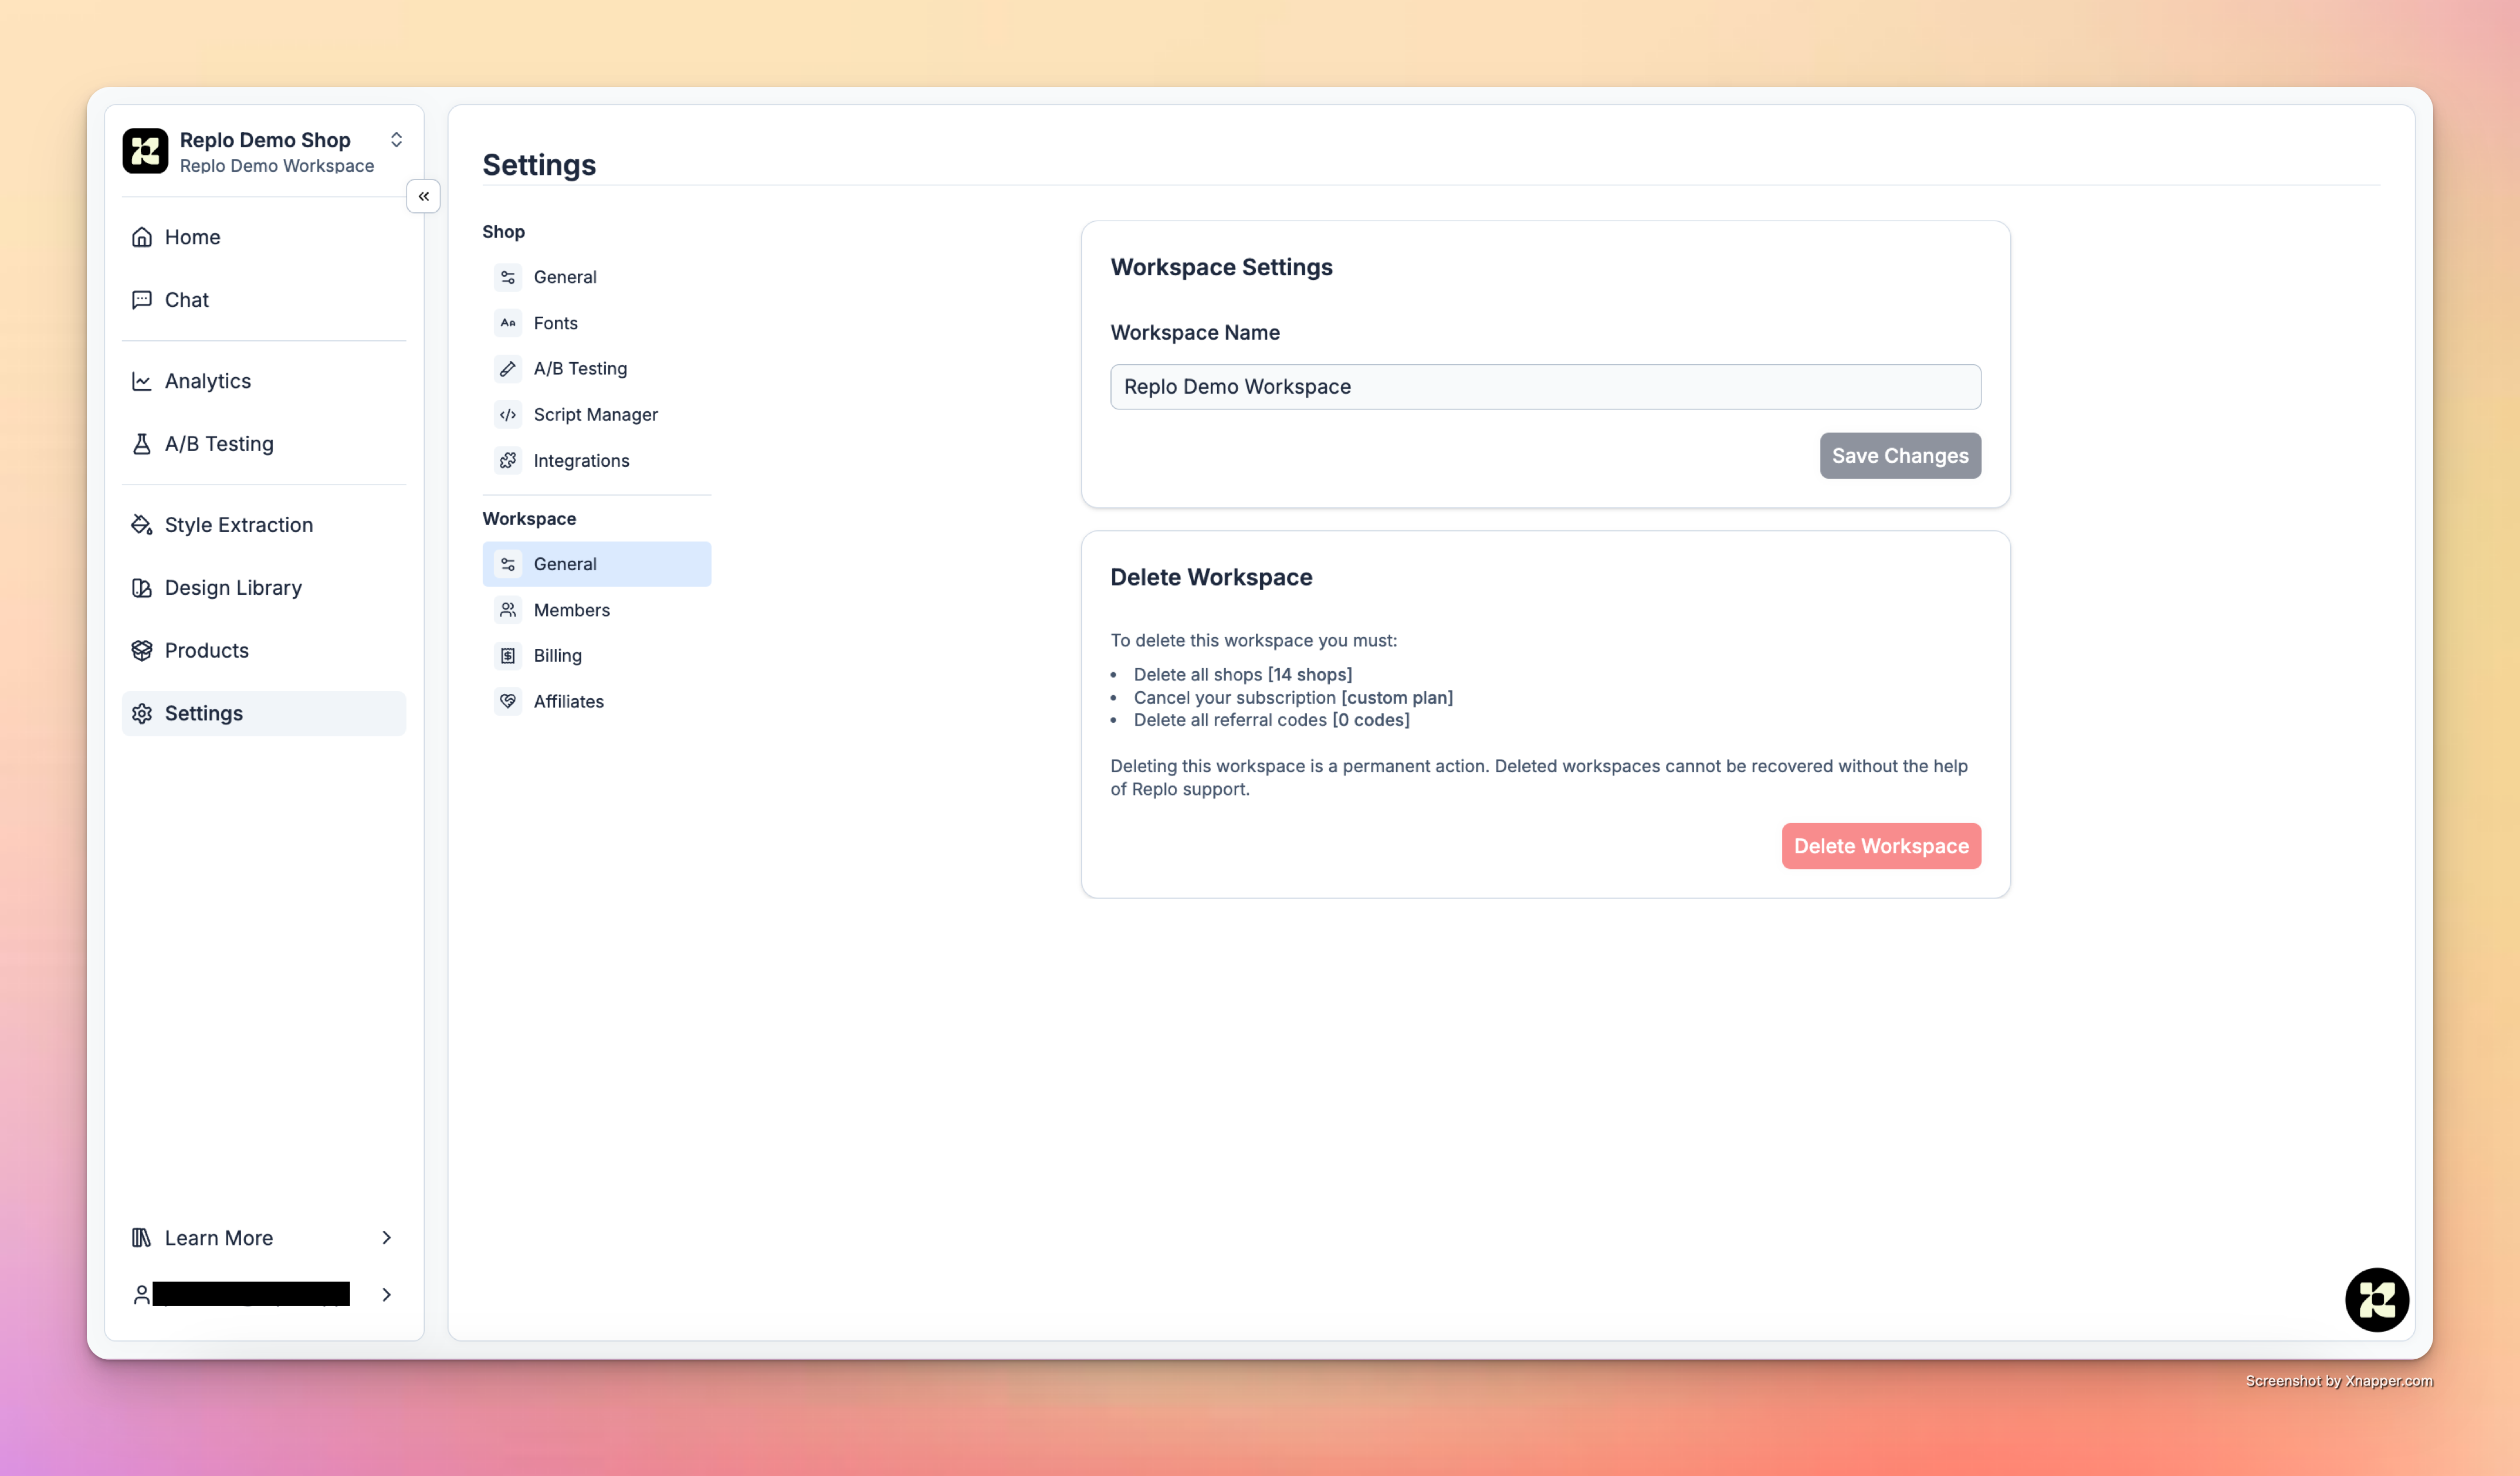
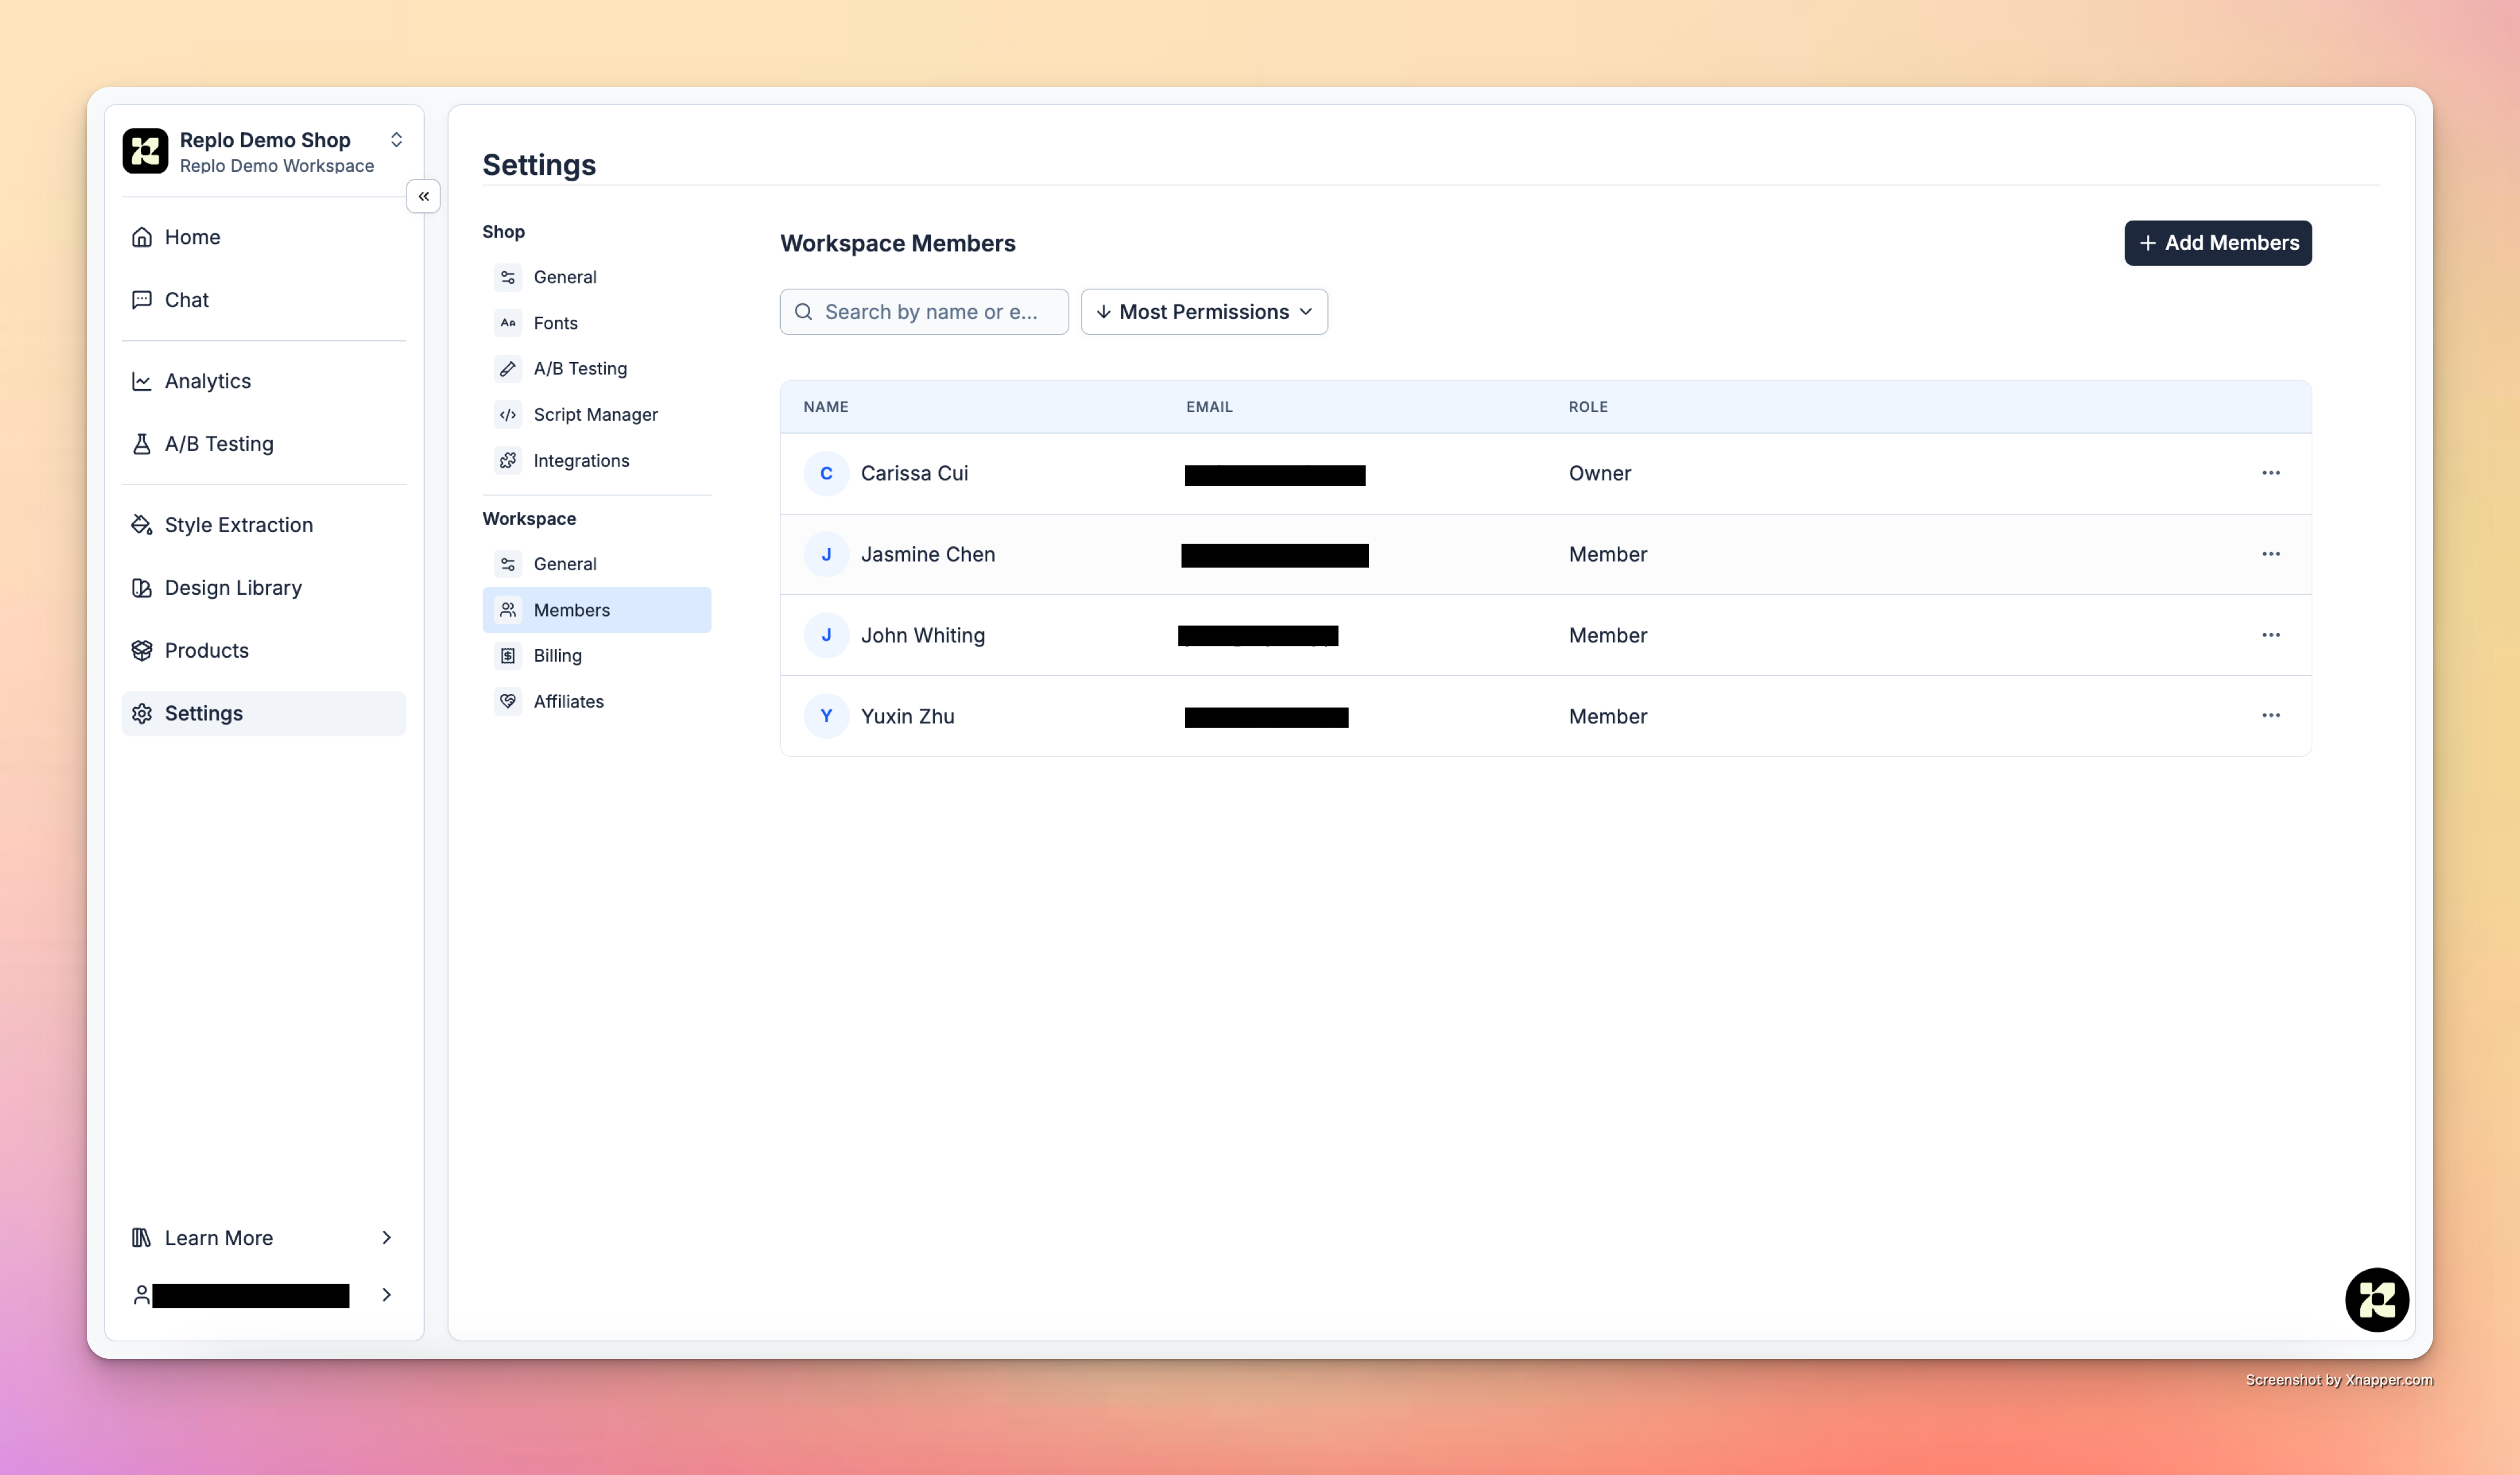
Workspace Members
On the Workspace Members tab, users can perform the following actions:- View all members that belong to a workspace or individual project.
- Add new members to the workspace or a specific project.
- Remove members from the workspace or a specific project.
- Owner: Owners have access to all actions, including project or workspace deletion and billing management.
- Member: Members have access to view and edit all projects that belong to the workspace.
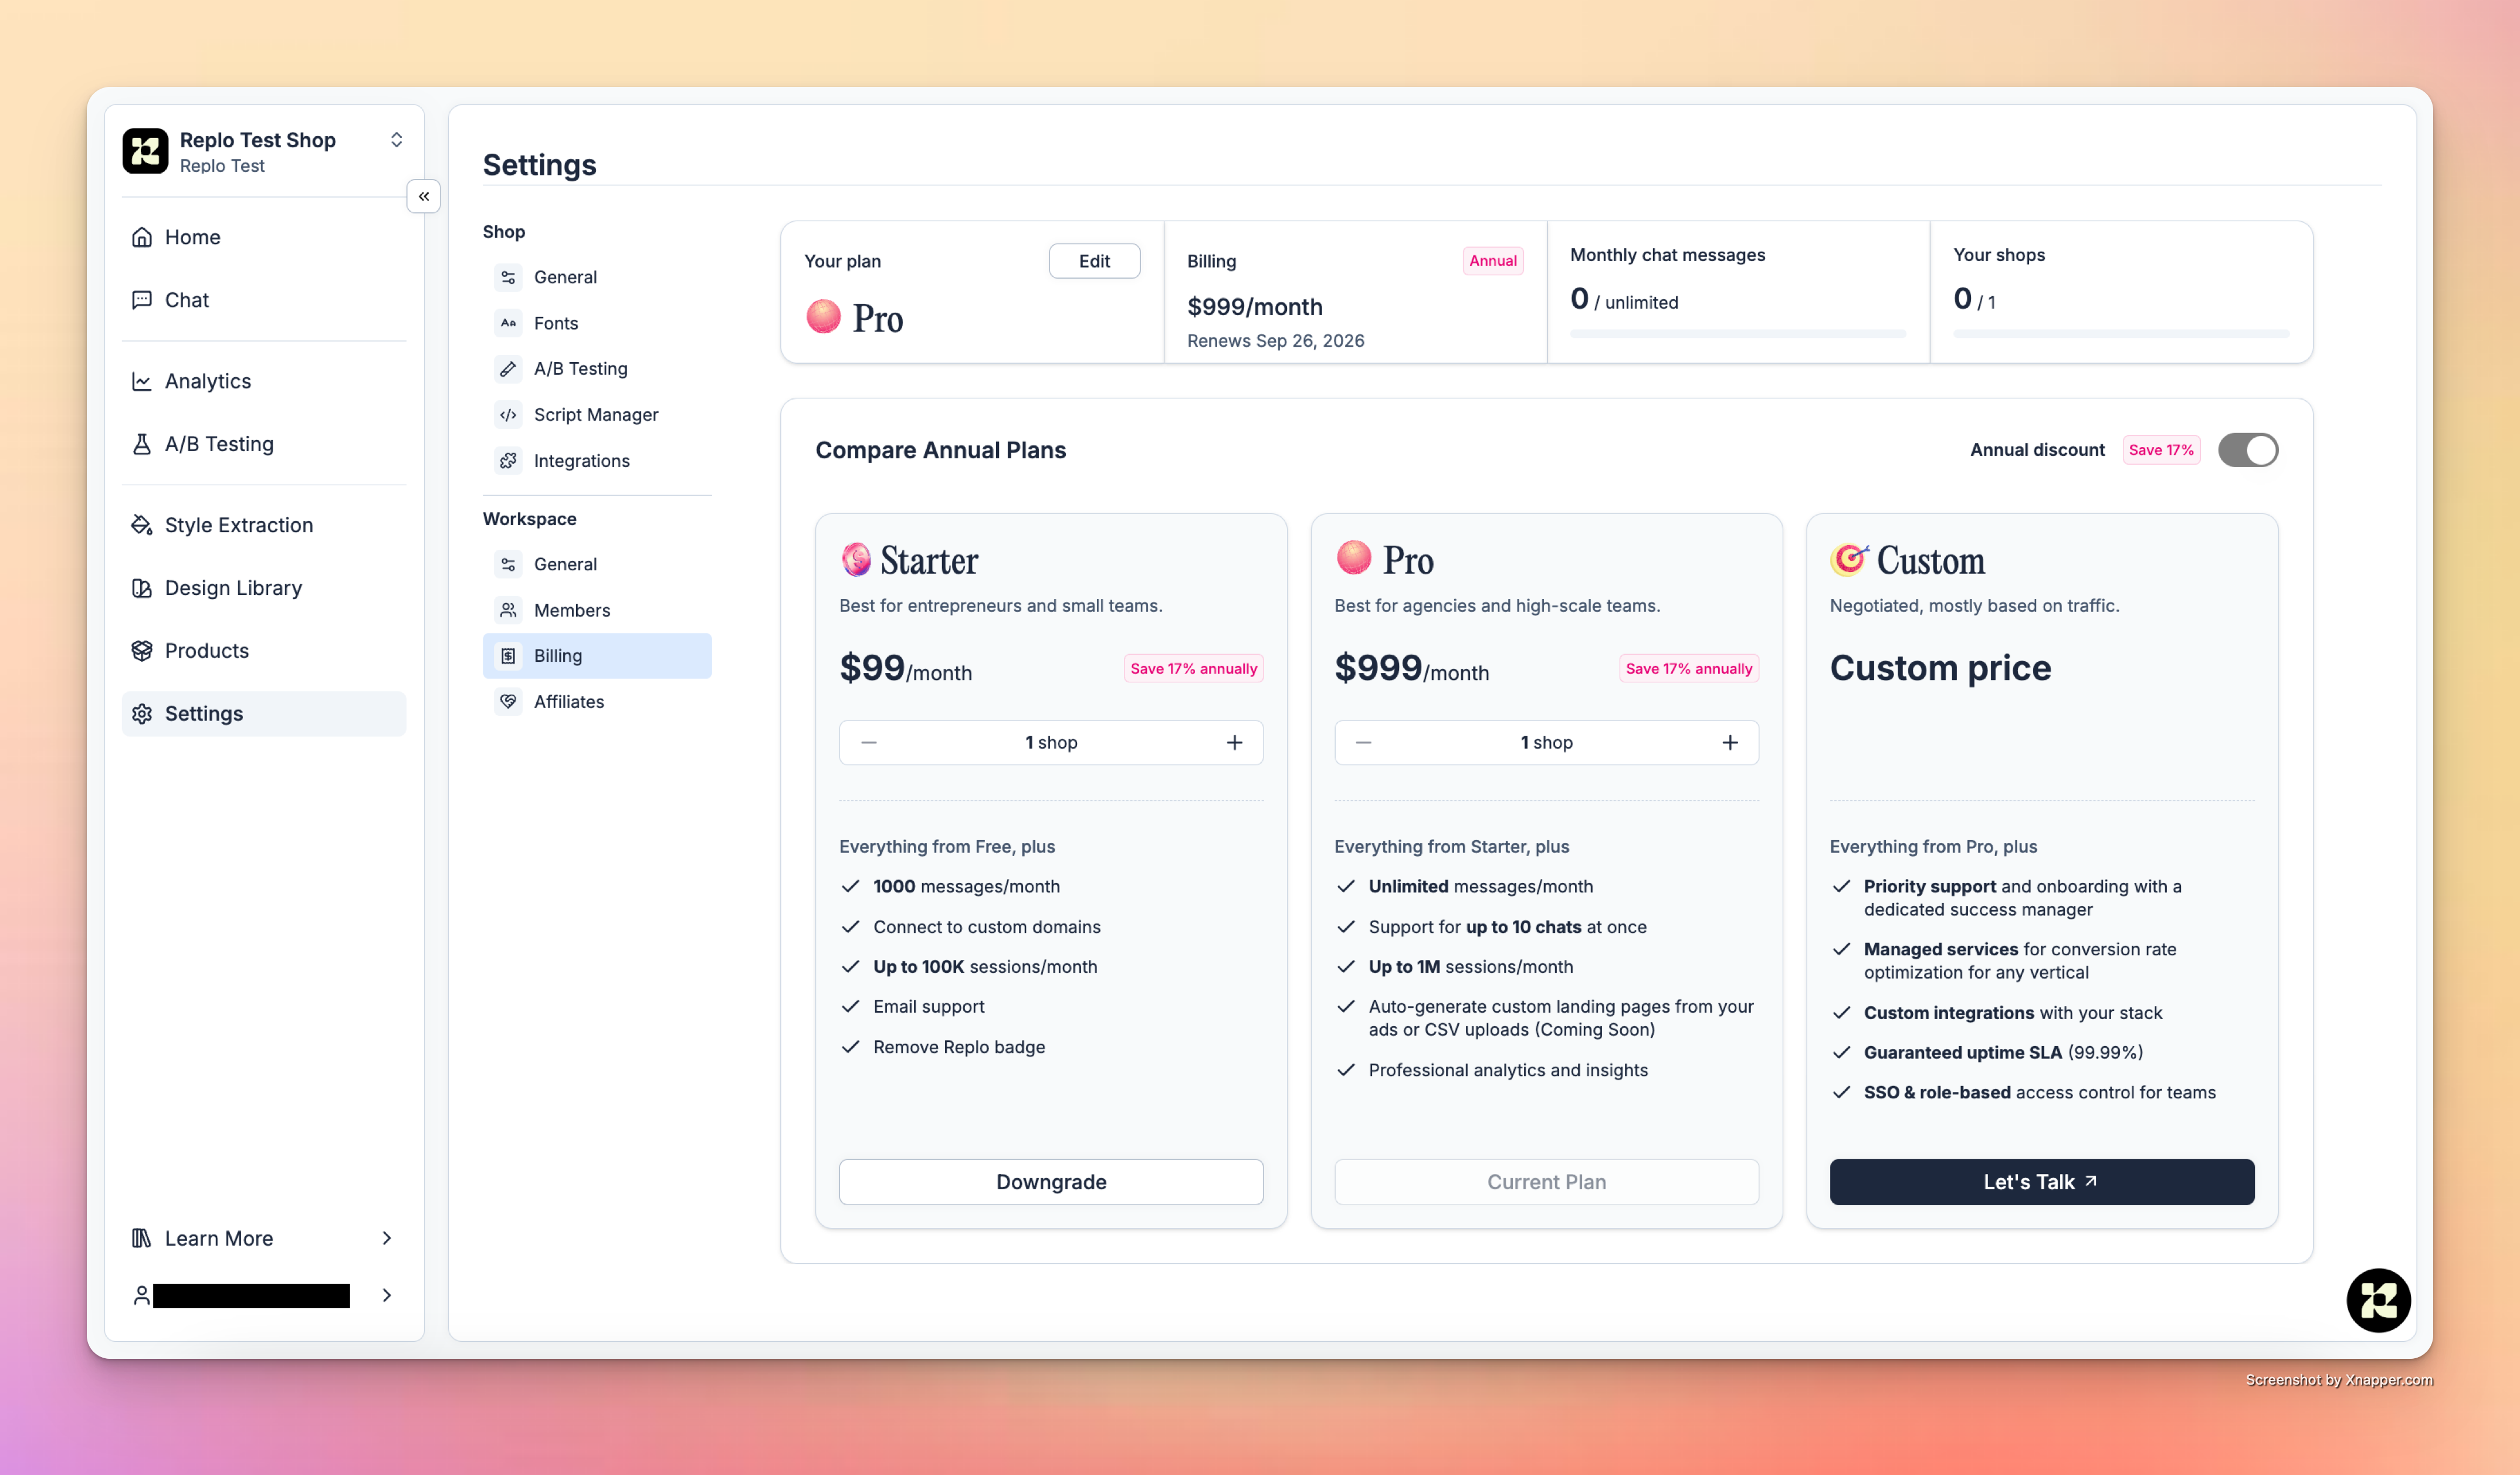
- Upgrade, downgrade, or cancel their plans
- Add additional projects
- View billing summary and limits
- Edit payment details
Affiliates Program
Read more about the workspace-level affiliates program in our docs here.Projects in Replo
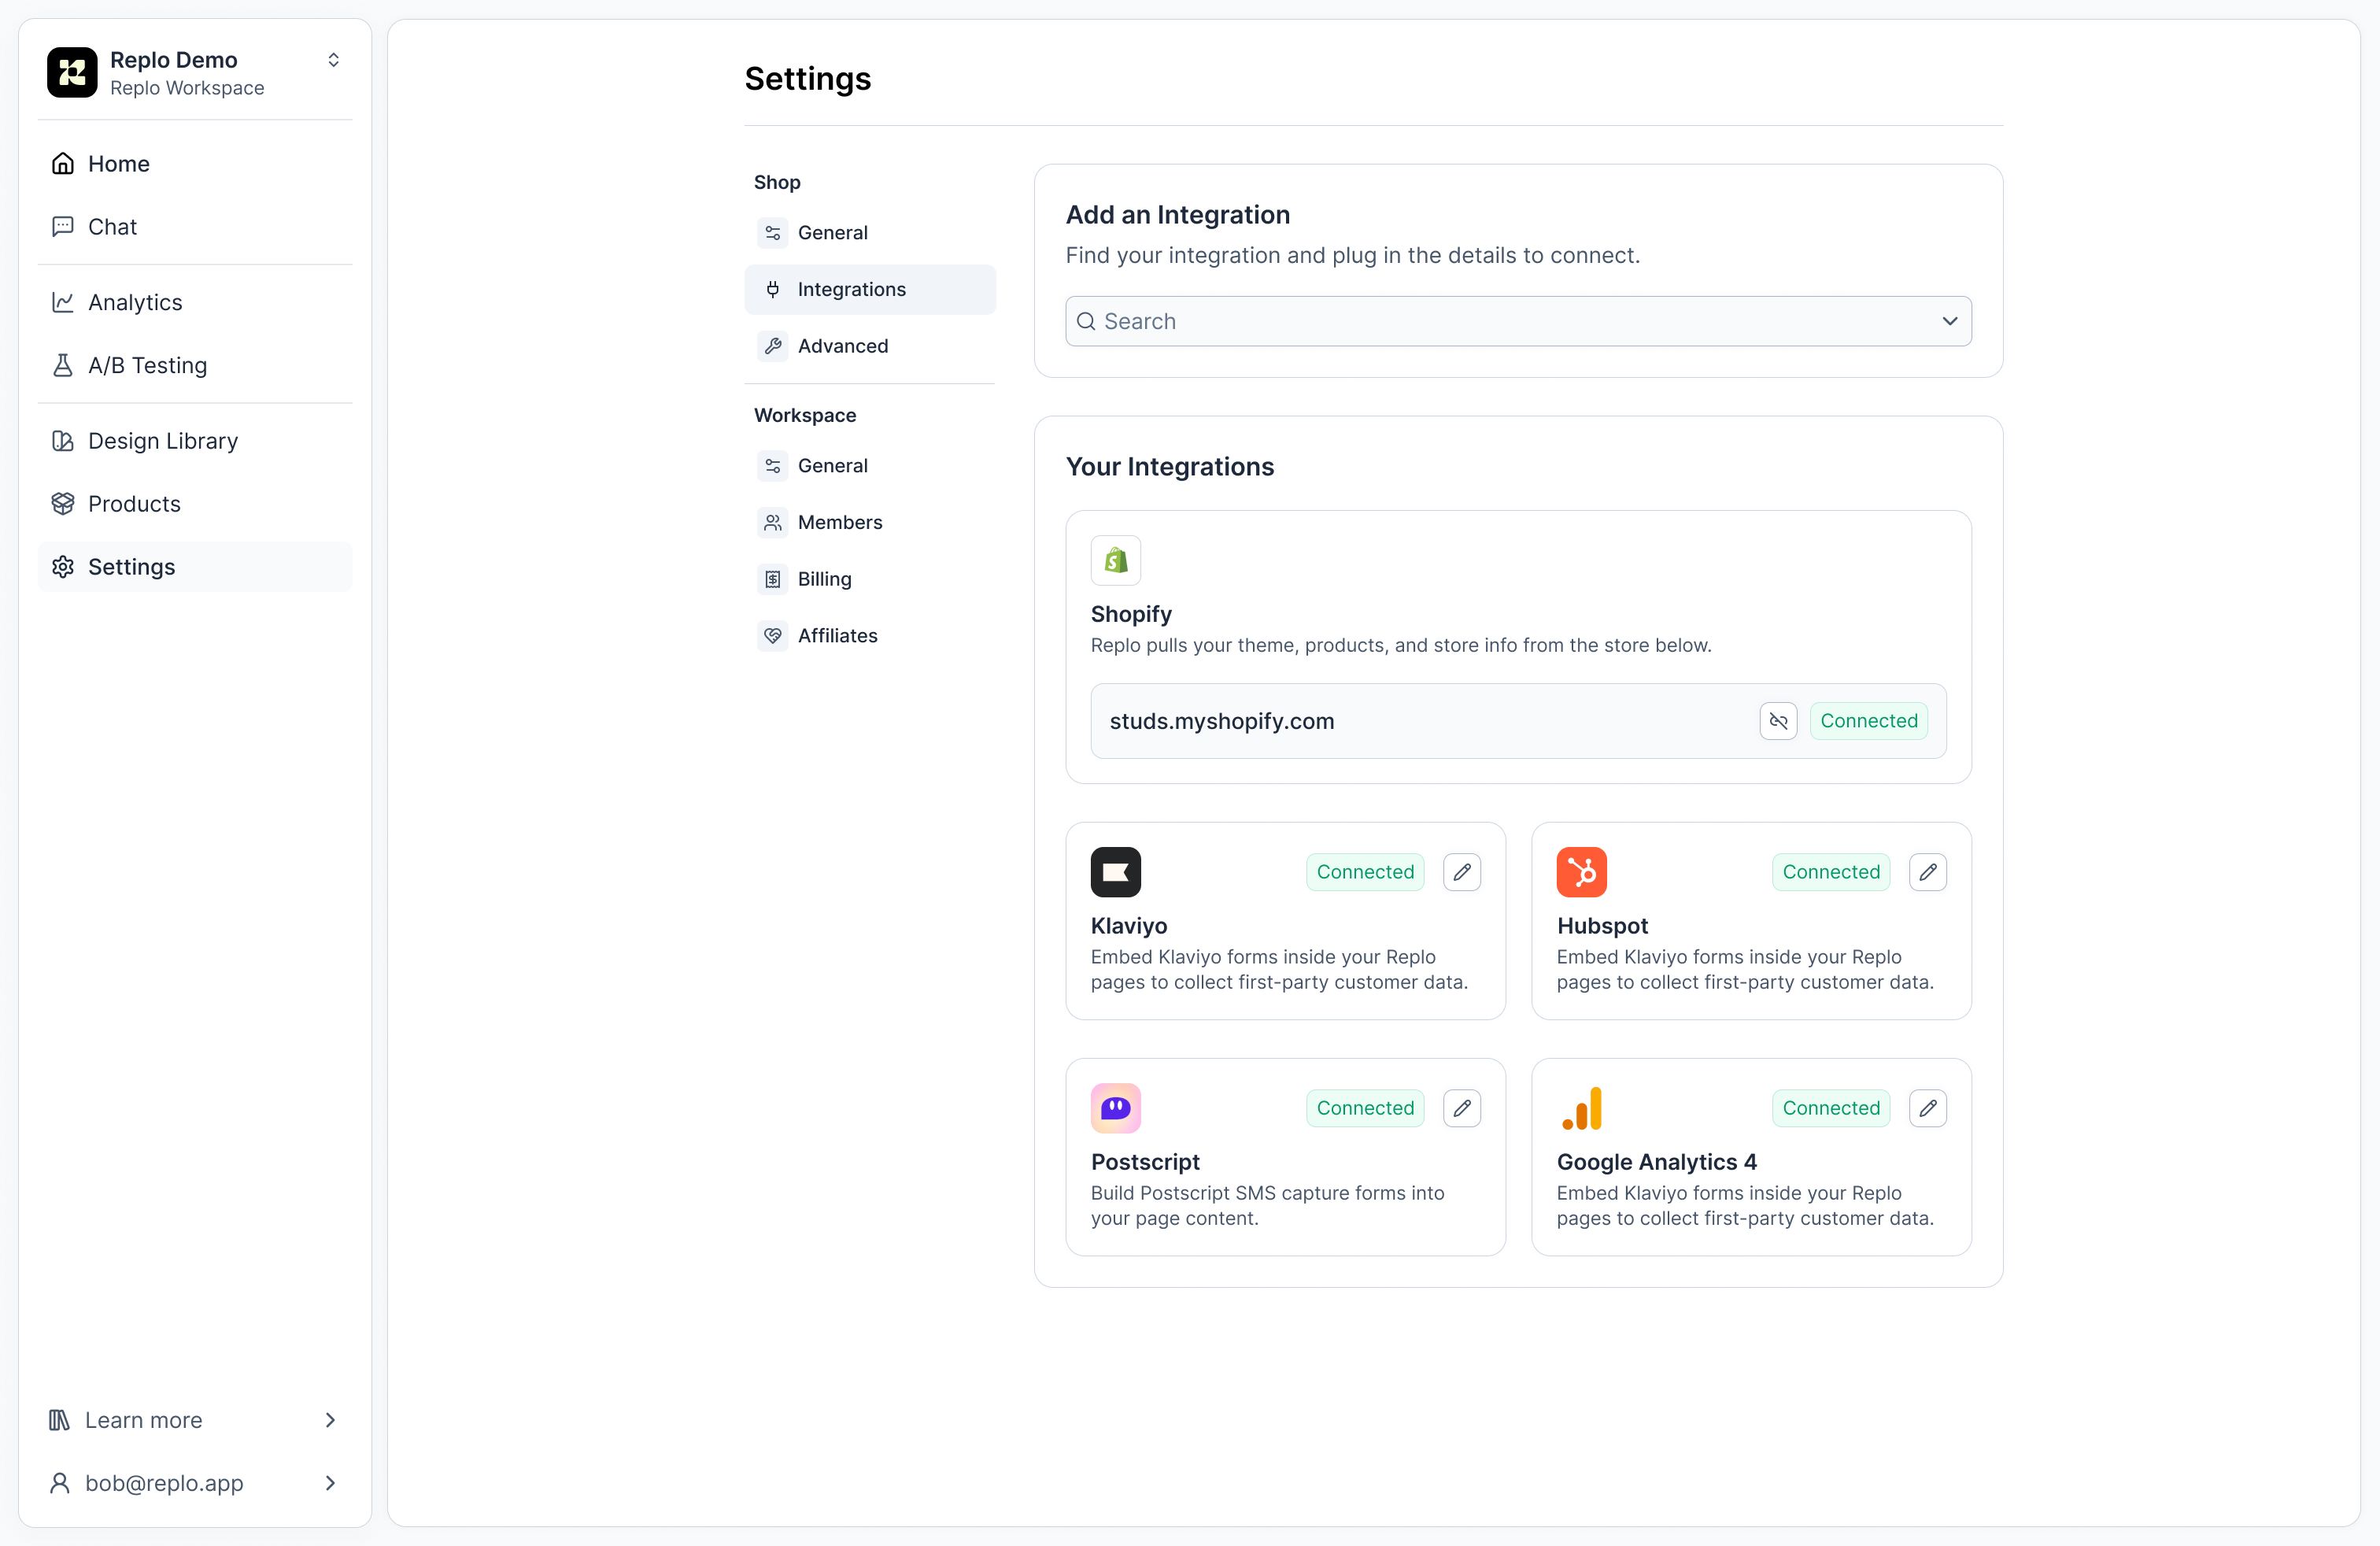
Projects are the core collaboration space within Replo. These are online storefronts, each with their own pages, products, brand library, A/B tests, and insights.Settings
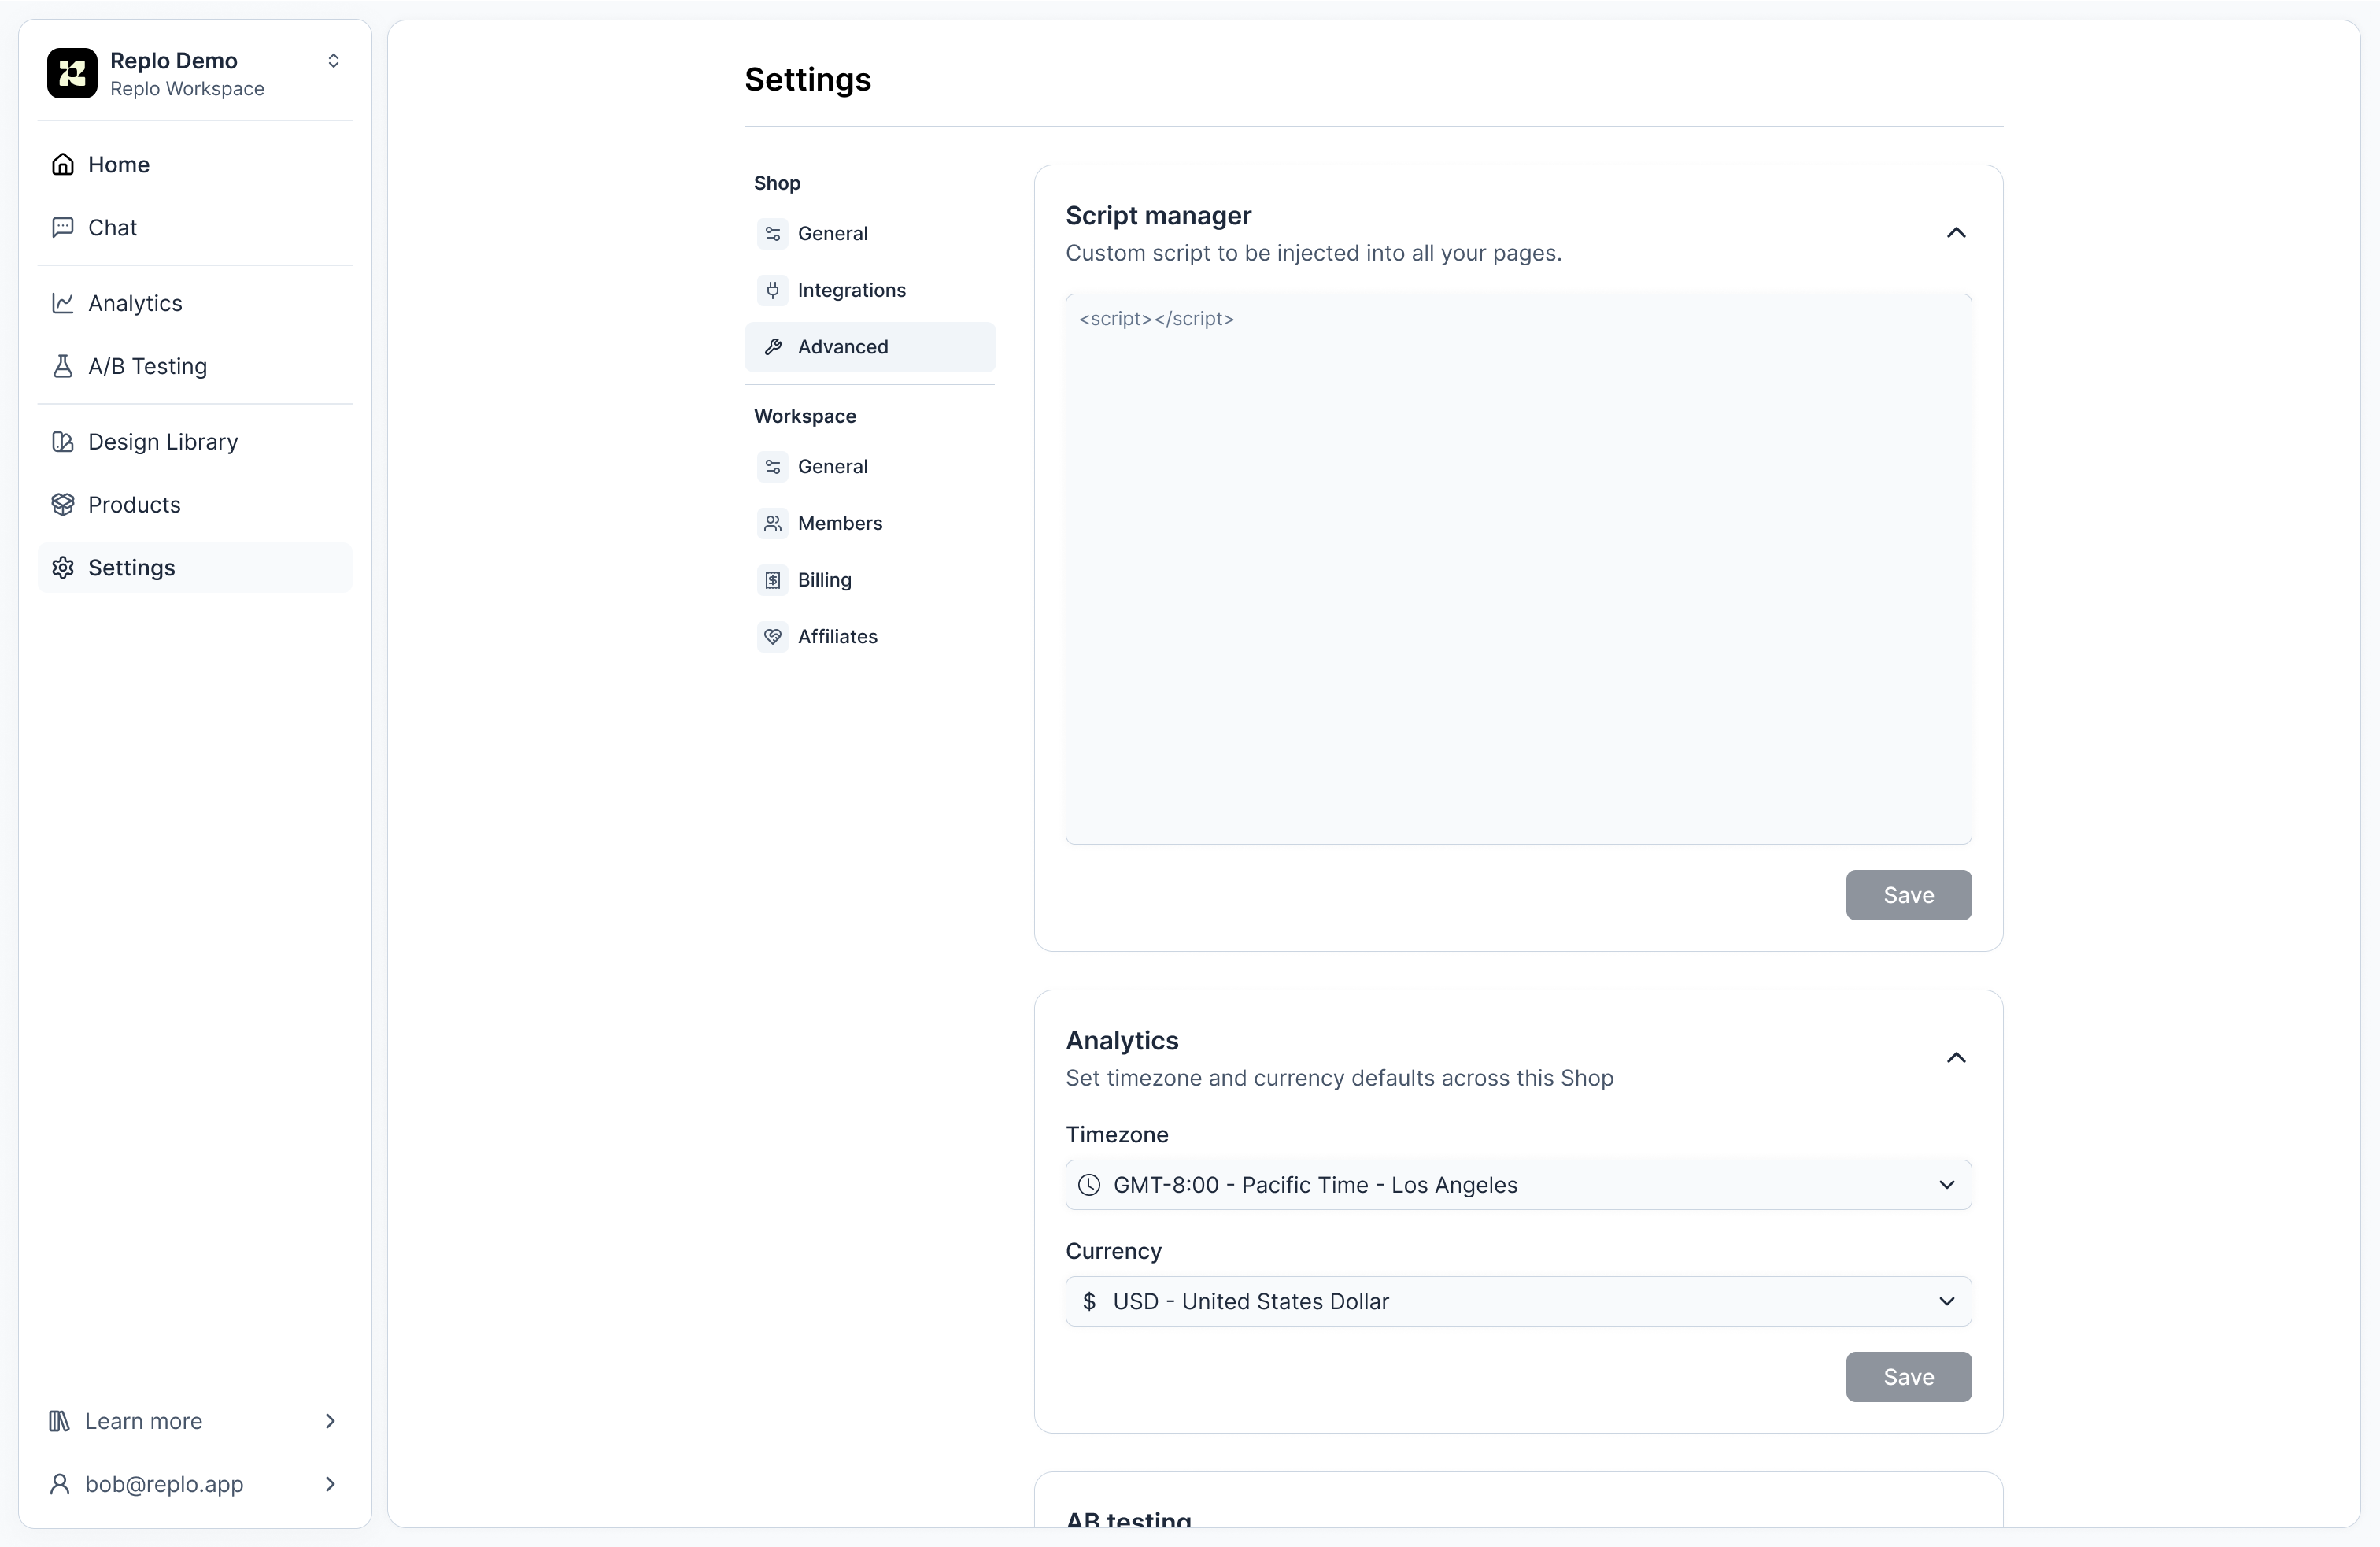
In project settings, teams can configure important details about their projects, such as operational settings and preferences. General In the general settings for the project, you can customize the project’s name, set the preferred timezone, and define the currencies in which project data will be displayed. Additionally, you can transfer projects between workspaces or delete them, if necessary.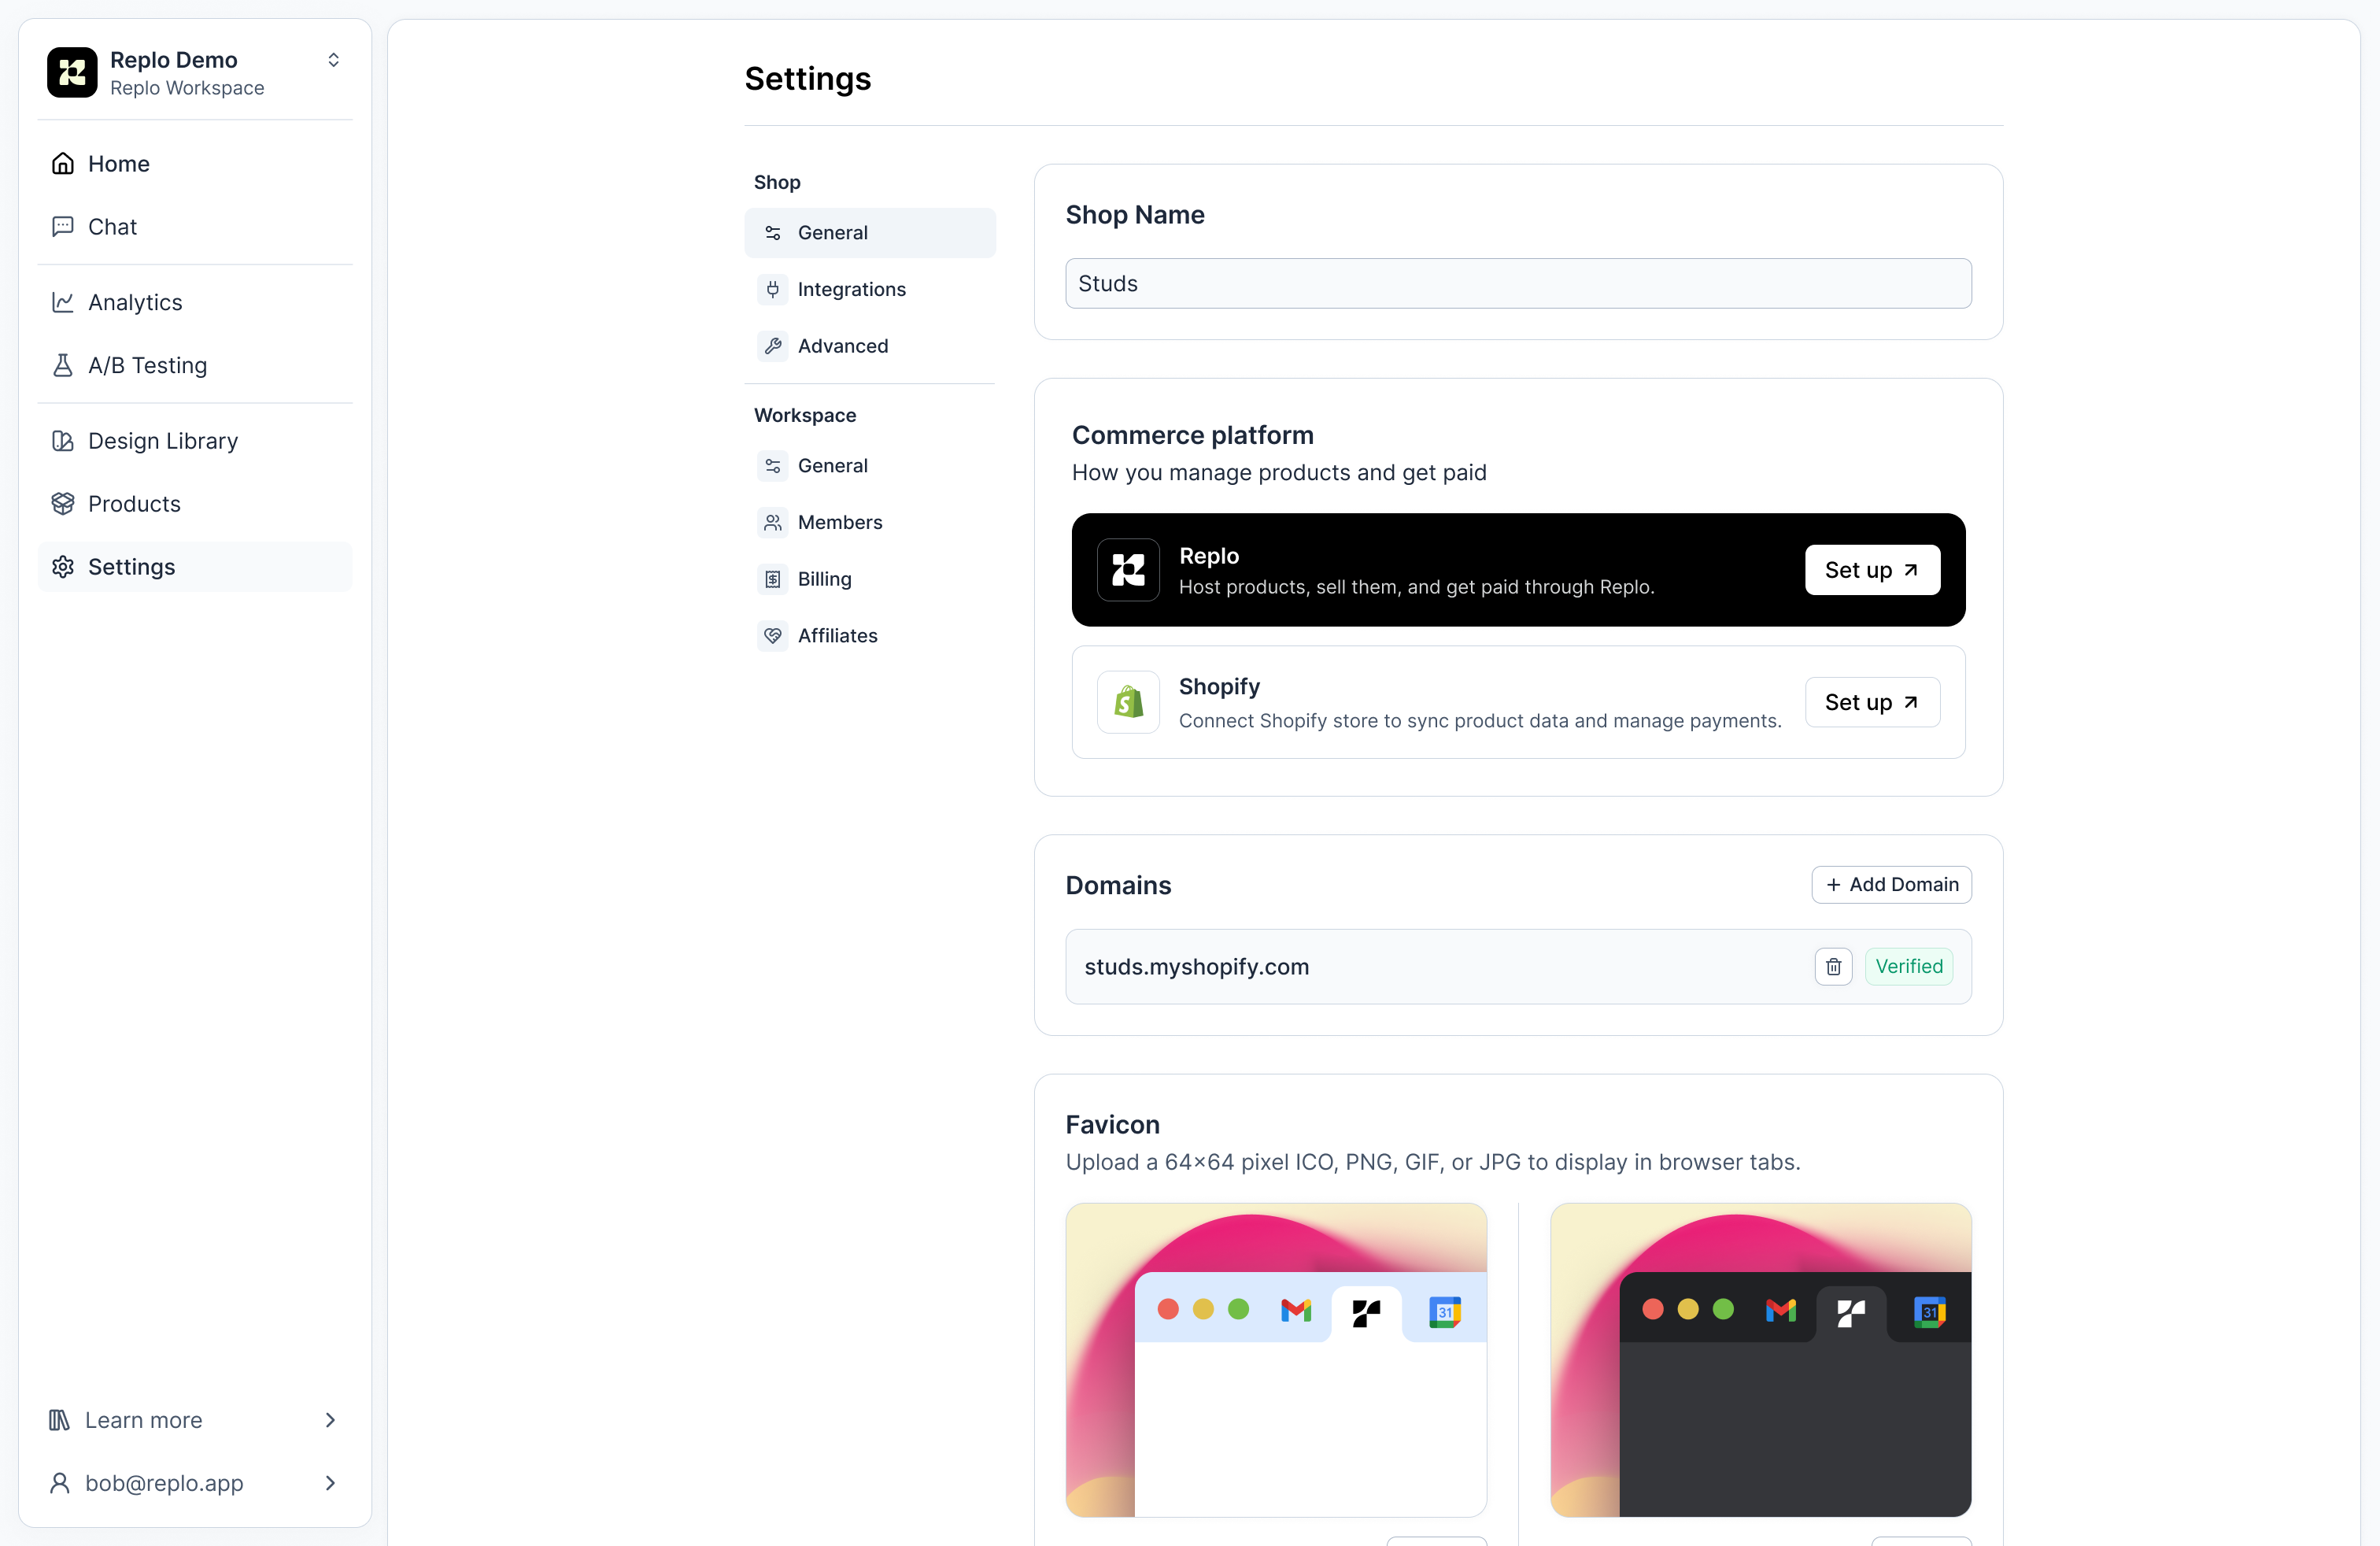
Moving Replo Content across Projects
Transferring content from one project to another is currently unsupported.Moving Replo Projects to a Different Workspace
Requirements- Role: The ability to move projects is exclusively available to workspace owners. See Permissions in Replo Workspaces for more info on workspace roles.
Step-by-Step Guide to Moving Projects
- Check Project Limits: Before attempting to move a project, it’s important to verify the project limits of the target workspace. Each workspace has a set number of projects associated with its plan, which could affect your ability to move a project seamlessly.
-
Initiate Project Transfer: Head to the project settings of the workspace you wish to move. Under project general, there is an option to move the project.

- Select the Target Workspace: After initiating the move, you will be prompted to select the new workspace in which you want the project to reside. Make sure this workspace has the capacity to handle additional integrations. You can see integration limits based on plans in the Pricing Tiers documentation.
- Confirm the Move: Review all details and confirm the move. It’s a good practice to notify any team members who might be affected by this change to avoid any workflow disruptions.